
Int the feedback for assignments four and five my tutor encouraged me to look at producing a photobook as an alternative way of presenting my work. Post the feedback for assignment four I produced an online PDF flip book which was relatively straight-forward. For assignment five I decided to try making a physical photobook following the intructions in Indie Publishing by Ellen Lupton.
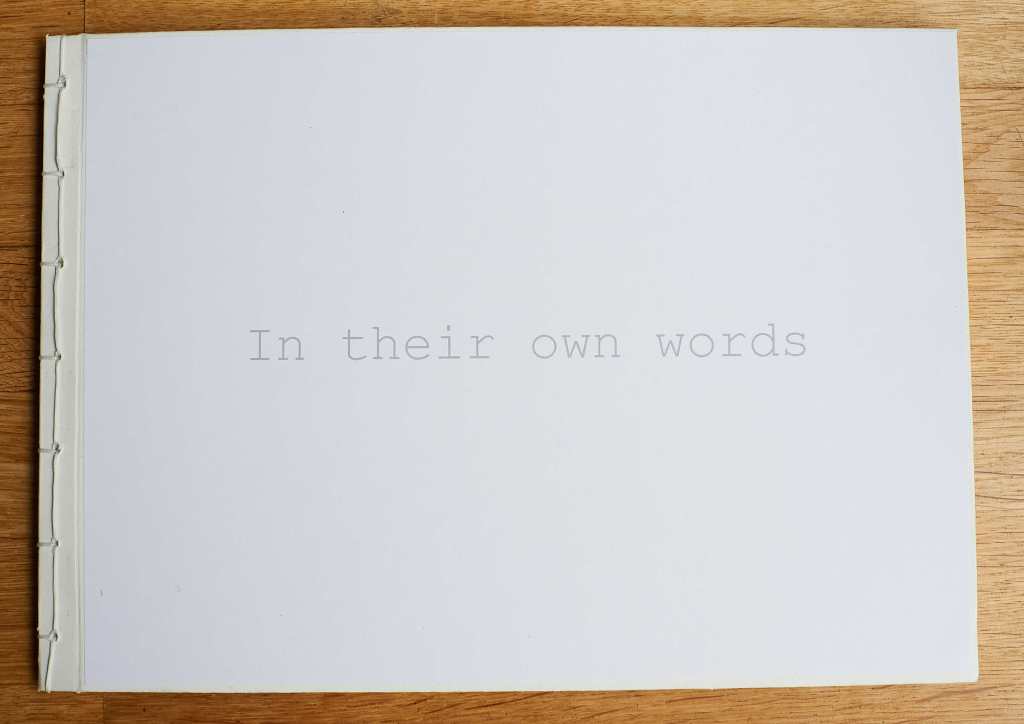
Below is a picture of my first attempt at producing a handmade photobook, for a first attempt I am quite pleased but I know there are lots of things that I could improve.
Process
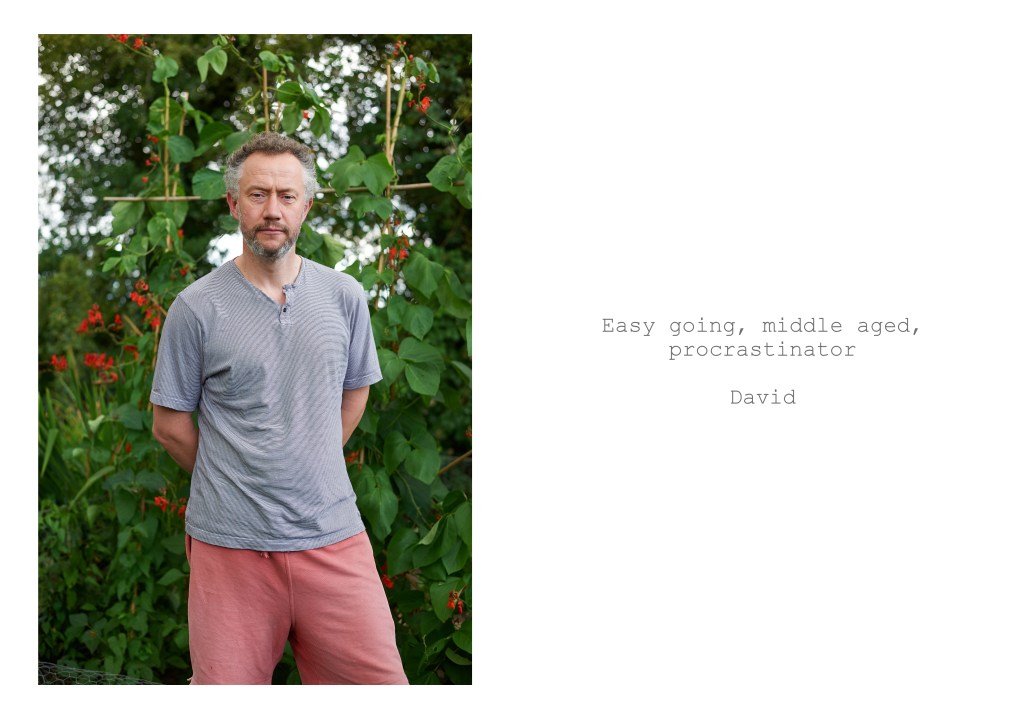
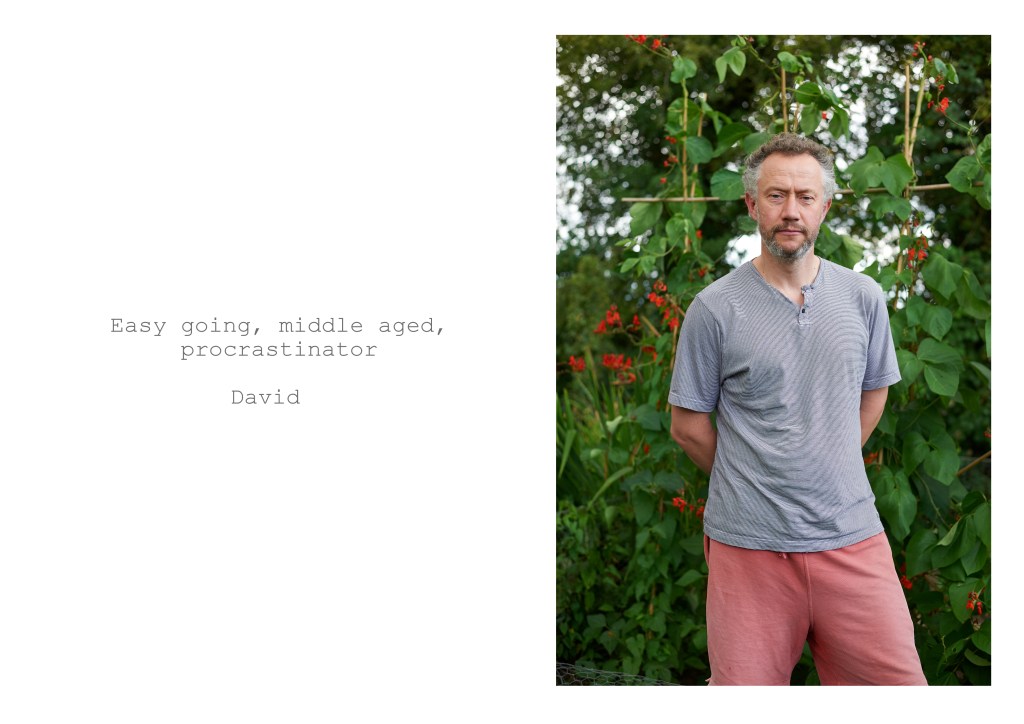
Having decided to try making a book, the first thing I did was to change the layout of the images I was using. On my blog the images were on the left and the text on the right. Because the spine of the book was going to be on the left I decided to move the image to the right to ensure it was more prominent on the page. I also moved both the text and image slightly to the right to take into account that page would be slightly smaller than A4 due to the spine.
The process of altering the layout was a bit rough and ready as I was trying to convert images displaying as pixels into centimetres and millimetres and in the process of moving the images and text around I committed a schoolboy error of not checking the new text properly, hence pigs is spelled pisgs in the image Elsie! I had the revised images printed professionally and chose a lustre finish, which I chose to avoid fingerprints showing on the pictures, however, having the images produced on photographic paper was a compromise. In an ideal world I would have looked at having the images giclee printed on to textured paper to give them more of a handmade quality, however, the cost was significantly higher and not something I could justify.
Having received the prints I ordered a bookbinding kit and some craft knives before deciding what materials I was going to use for the cover. I went to my local craft shop to look at what cards and boards they had as the instructions in Ellen Lupton’s book were not very helpful. In the end I bought a piece of mountboard, as I was going to try making a hard cover book, and some sketching paper that I intended to use to cover the board. My decision to produce the book in white, whilst consistent with my original online version, did make working more difficult as any marks were very visible.
When it came to actually making the book the most difficult part was trying to produce the front and back covers. I decided to make them slightly larger than the A4 inserts and so had cut a rectangle from the piece of mountboard that was slightly larger than the photographs. The front cover incorporated a hinge for the spine which was made by taking the original rectangle and cutting a small strip from it that would be used for the binding. Once covered this would allow the front cover to be opened more easily. Once I had cut out the mountboard I need to cut out a larger piece of sketching paper to cover the pieces of the front cover. Despite much measuring and trying to be careful when cutting out the pieces were not square and next time I try making a photo book I will invest in a square steel ruler.
After covering the front cover to complete the hinge, I then cut out the back cover, which was a single piece of board, and then covered it. Again trying to get the rectangle square and the correct size proved more difficult than I thought it would and so I have ended up with the back cover being smaller than the front by 3 – 4 millimetres!

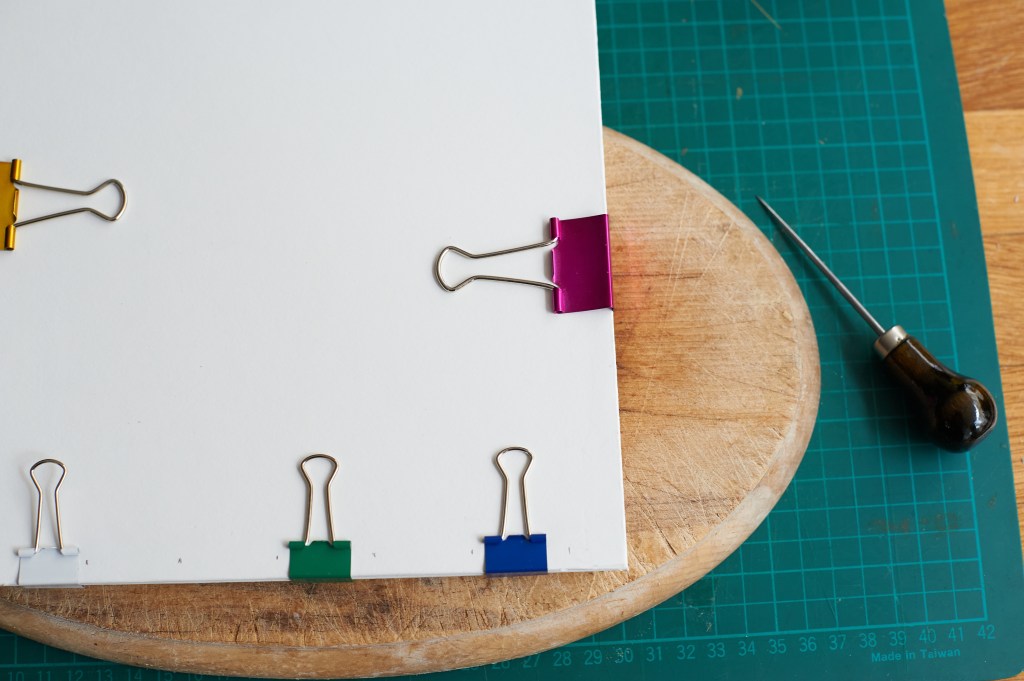
Once the covers were complete the next task was to collate the images and covers, mark and make the holes and sew all the elements together. This was relatively straightforward and the instruction easy to follow. However, I did not get pull the binding thread tight enough to begin with, so some of the binding is a bit loose. I also made the mistake of not inserting a protective layer of card between the clips and the book and so ended up with marks on the covers.
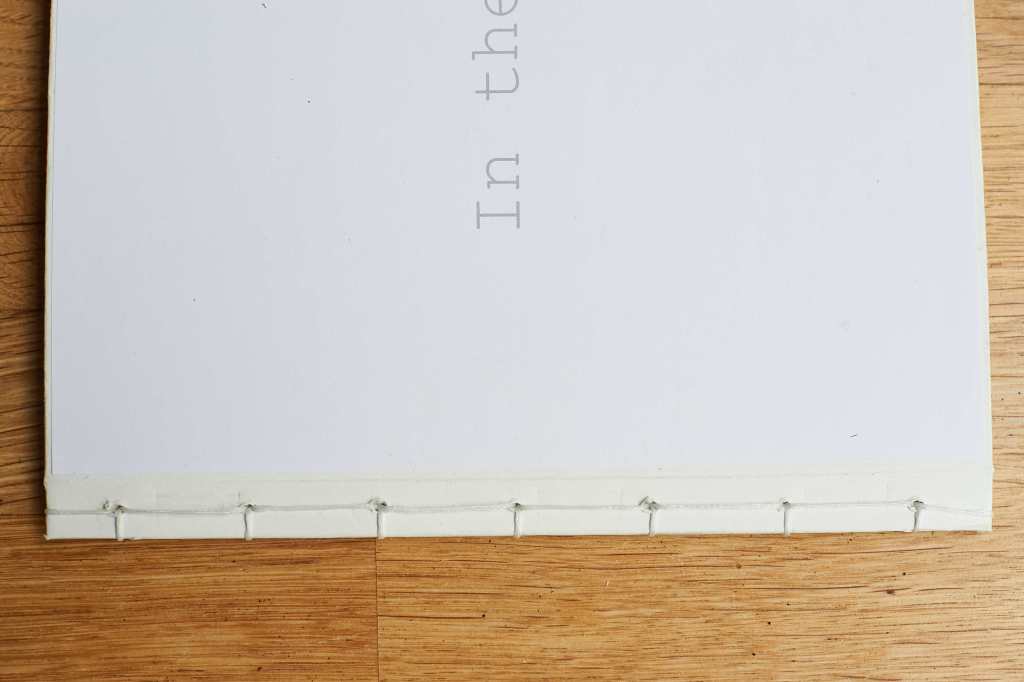

To hide the marks on the front cover I printed the title onto a piece of plain A4 paper and stuck it to the front.
So what did I learn from making my first book? I think there are two important lessons I learned, first it forced my to think about how I present my work. Although I had given some thought as to how I would present the images online, generally I see producing images for exercises and assignments as the end point and I do not give enough thought during the process as to the best way to present the images. Going forward I will try and think about how to present work as part of the process of producing it and not as an afterthought.
The second important lesson was that I needed to give myself much more time. A lot of the mistakes I made, from not checking the wording on the relaid images, to the difference in the size of the covers and the loose stitches, can be attributed to being in too much of a hurry.
Despite the mistakes I enjoyed the process and would like to make other photo books in future but will give myself time to produce a more accomplished end result.
Sources
Lupton, E. and Maryland Institute, College of Art (eds.) (2008) Indie publishing: how to design and produce your own book. (1st ed) New York : Baltimore: Princeton Architectural Press ; Maryland Institute College of Art.
